Thursday 28 March 2019

Chatelaine

Last week I had a sudden urge to knit a Chatelaine - and yes, that's perfectly normal. I'd been having fun adding beads and charms to my new stitch-picker-uppers and I think that's what put the idea in my head.

I also made myself some music earrings while I was at it.

A Chatelaine was originally the woman in charge of a household but, over time, the word also became used for the series of chains and links she wore to keep necessary items to hand. In a time when women's clothes didn't have pockets the chatelaine was an essential accessory. Keys and tools would be clipped on to the chatelaine which was then attached to a belt.


This one, from the Victoria & Albert Museum, dates from the mid nineteenth century and has twelve different attachments, all beautifully worked in steel. As you can see, chatelaines quickly became very decorative - almost like jewellery.

Towards the end of the twentieth century chatelaines again became fashionable but this time worn round the neck and invariably used to hold sewing tools. You can find patterns for all sorts of wonderful ones, ranging from simple straps to elaborately decorated creations.

Simple Chatelaine Pattern from Moda

Elizabethan Chatelaine from Australian Needle Arts

Chatelaine by Bonnie Sullivan from All Through the Night

So, back to my idea. I wanted to knit a bright, modern version of a chatelaine to hold knitting or crochet tools. A trip to my local Hobbycraft was called for, where I had a lovely time finding little bits and pieces.


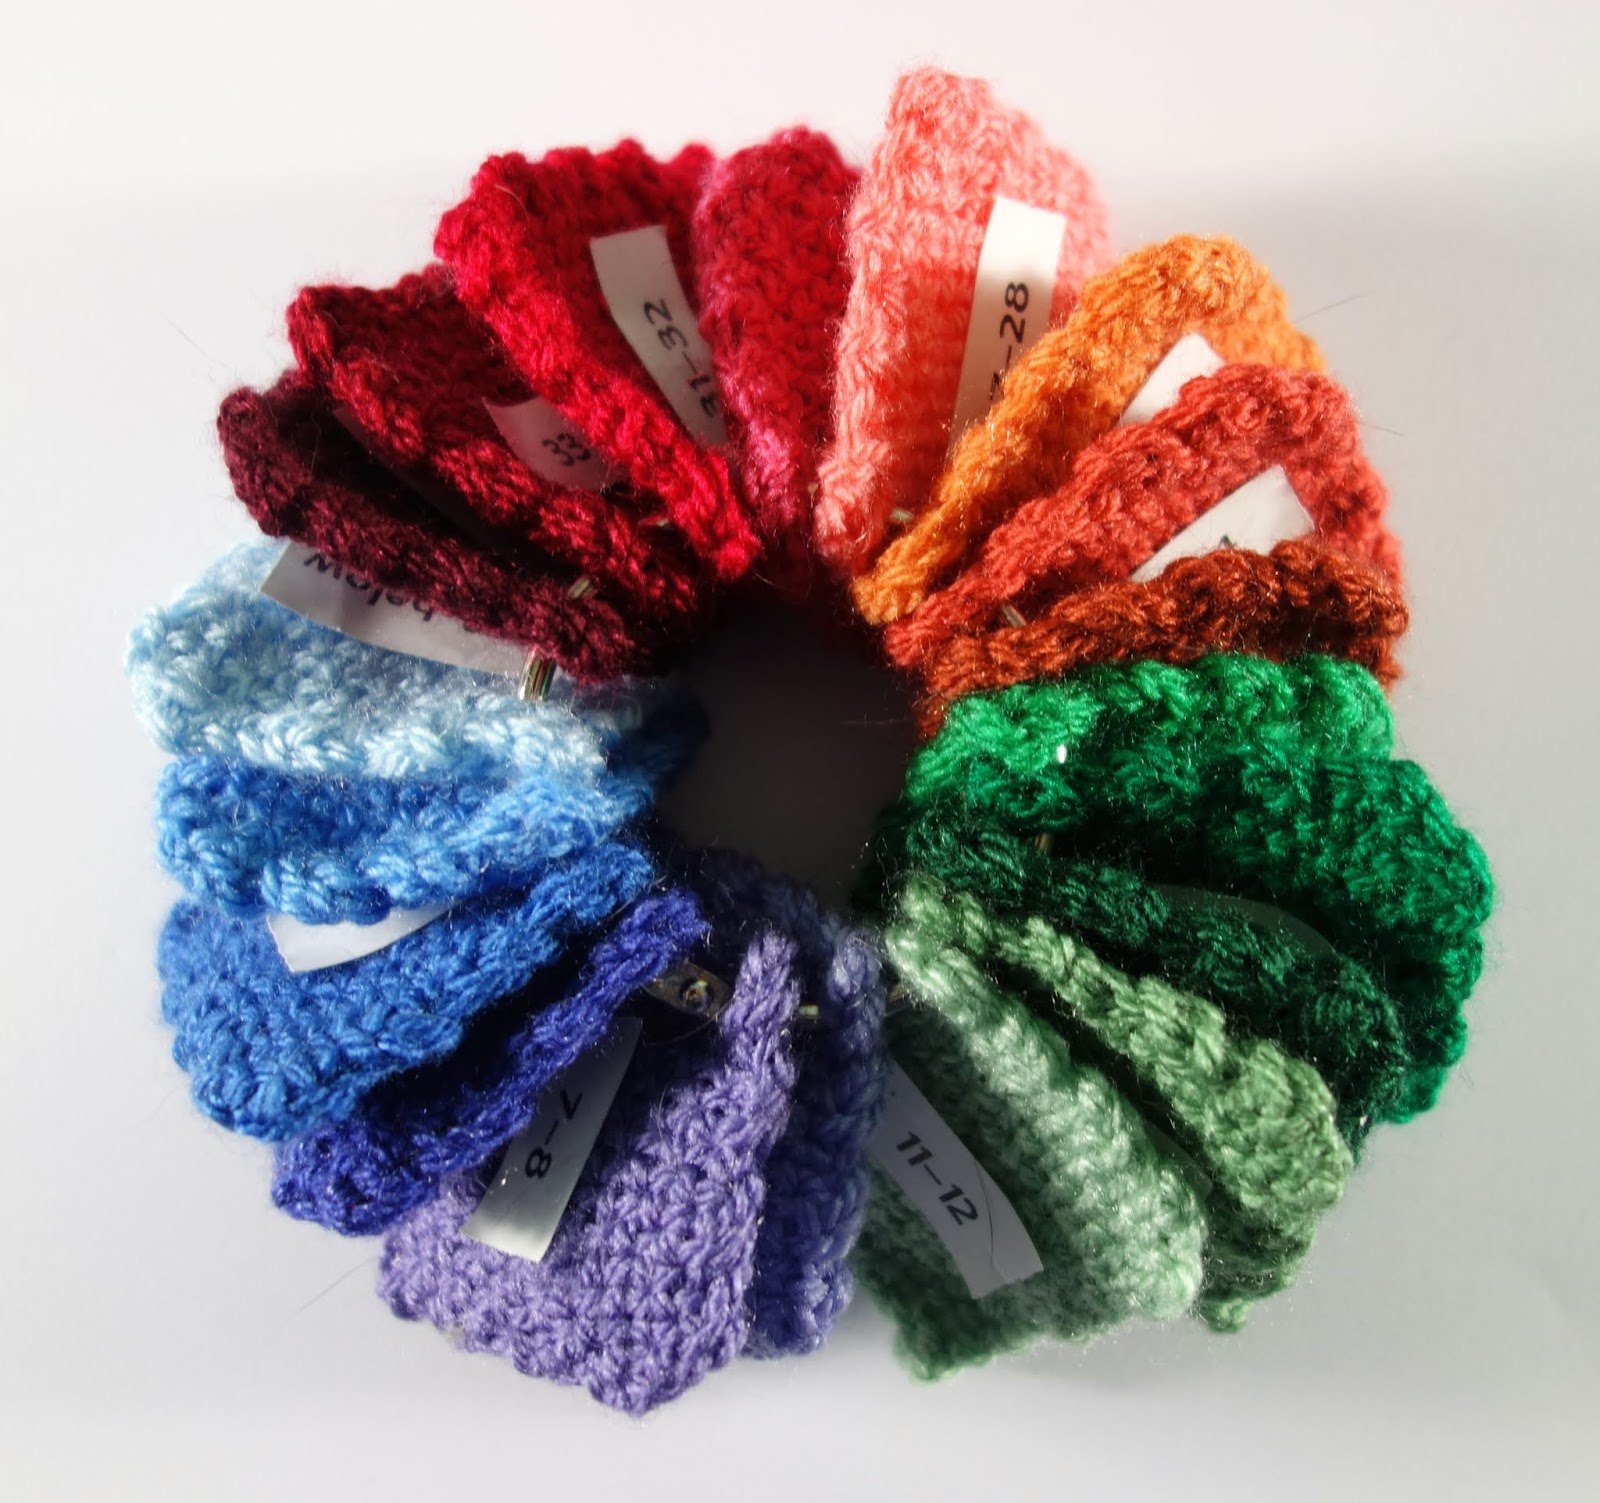
I was especially pleased to find the Yarn Cutter (that's the round thing at the bottom of the picture) as I thought that would be better than hanging scissors from the chatelaine. The lovely colours of the stitch markers from Pony inspired me to search for yarn to match and look what I found.

James C Brett Party Time Chunky

The knitting was super easy and quick to do. I used fabric stitch which gives a lovely thick strap and edged it with a chain selvedge.

The two sides of fabric stitch - bumpy and smooth.

It always takes me a couple of attempts to remember how to do a chain selvedge - slip the first stitch of every row purlwise with the yarn held at the front and knit the last stitch.


Deciding how to attach the tools probably took as long as the knitting. I played around with the idea of pockets or little strips of knitting to clip things to but, in the end, decided on sewing jump rings to the  chatelaine and then clipping the tools to them.

I added jump rings and swivel clips to each of the tools so that they can be taken on and off the chatelaine as needed. 


As you can see, I had to thread the row counter on to a short length of chain before adding the jump ring. The stitch markers are held on the sort of large ring used for keyrings.

This is how they look when clipped on to the chatelaine.


I also added two little knitted patches to the other side of the ends to hold sewing up needles and safety pins.


And there you have it, a quick and easy pattern. Should you want to knit one of these, the free pattern is available from my Ravelry Shop. The chatelaine uses less than half the ball of yarn so you could make one for yourself and another for a friend.


Monday 18 March 2019

Mini Marshmallows

No, not sweets - these marshmallows are the name of a crochet stitch that gives the most wonderful chunky texture.


According to my pattern notebook, I started this blanket last June. I worked on it for a while and then it got abandoned for a bit. One of the good things about recording my yarn projects in My Year in Yarn is that it reminds me of old things and nudges me to get on with them. When I fished this one out in January it wasn't much more than a wide strip of crochet and I'd run out of yarn. A quick order to the Wool Warehouse and I was back on track.

I've been working on it steadily ever since and here it is (with a friend).


It's difficult to show in pictures just how amazing these little marshmallows are. Here they are looked at from above ...


The wrong side looks good too. Does this remind anyone else of pasta?


The yarn is Patons Diploma Gold DK in seven rainbow colours, plus navy blue for the border. When my new yarn arrived I found that the new ball of the pink was much brighter than the old one. I used it anyway and I don't think you notice the difference in the finished blanket.

The new pink is on the left, the old on the right

I finished my blanket with a simple border, one round of trebles and then a round of crab stitch to give it a bit of body.


Should you want to try this pattern, it's available as a free download from my Ravelry Shop. Of course, you could use other yarn and vary the size too (mine is a baby blanket) but, be warned, this stitch makes a seriously heavy fabric so don't get too ambitious. The mini marshmallow stitch would make good bags and cushions too. I'm thinking of working out how to do it in the round and designing a circular cushion, perhaps in pastel colours.

I'm much more of a bright colours than a pastel person but I've been challenging myself lately to use some paler shades. An example of this would be the Primrose Garden crochet I showed you last week which I'm making progress with now. I know it's still quite bright but, for me, this is a very understated colour palette.


That's four of the long hexagons sewn together, plus four top squares. I love the fact that the squares really look as if they're laid on top of a bigger square - just the effect I was looking for.

Thursday 14 March 2019

Temperature Blanket

Every day this year I'm recording the maximum temperature where I live so as to be able to work it into my Temperature Blanket.


This is the plan I've drawn up; each triangle represents one day, the squares with arrows are the month labels and the grey squares are the border. That bit on the side with the red squares is going to be the key. There will be a square for each of the 19 colours I'm using, with the temperature range they represent embroidered on the front. The light grey rectangle above the key is for some sort of title. I haven't decided what to put on that yet - although it needs to be short as I hate doing the embroidery.

When I was planning this blanket I had fun making a mini colour key to refer to each day.


I wove these little squares on my 2" loom from Hazel Rose and then stuck on labels with the temperatures on. Each one represents two degree in Celsius, ranging from below 0° to above 35°. I've used blues, purples and greens so far; its been unseasonably mild here, I didn't expect to get to the greens for several months. I haven't used the lightest shade of blue as the maximum temperature has always been above freezing.

This is the rest of my Temperature Blanket kit ...


This old suitcase holds the plan, the colour key and my looms and tools. The looms are the Tiny Weaver Set, again from Hazel Rose. The finished squares are about 3½" and the triangles half that size. The green notebook is where I make a note of the maximum and minimum temperatures every day and a few words on each day's weather. The most dramatic day so far was last Sunday when we had sunshine, rain, hail, snow and then sun again. 

The suitcase slides under the settee so it's handy but doesn't get in the way. So, this is how my blanket has grown so far ...

First Few Days

Most of January

January and February

And this is what it looks like today, half way through March ...


It actually looks better in photos than it does in real life. It's very lumpy and bumpy and I think the squares are turning out a bit bigger than two triangles. I'm hoping that a good blocking will sort out most of this - that and a crochet edging to tame down the waves. But I can't really do that until it's finished so I shall have to have faith until then. I'm a great believer in blocking to solve most yarn-related problems. I only found out recently that wet blocking isn't supposed to work on acrylic yarns; I've been wet blocking acrylic stuff successfully for years.

The embroidery is nerve-wracking to do; I'm using chain stitch and all was going well until I had to do the square for March. Turns out it's much harder to embroider vertical writing than horizontal - the 'r' is virtually off the square.

Things I like about this project:
  • It's made me notice the weather more (even if I tend to reply to innocent statements like "it was cold yesterday, wasn't it?" with statements like "yes, 2.9°", I really must stop doing that).
  • I love playing with colour - oh the excitement when I get to use a new one.
  • Each triangle only takes about ten minutes to weave and add to the blanket.
Things I don't like:
  • Weaving in all the ends. I'm using my yarn doubled so there are four for each triangle and I'm not very good at hiding them.
  • Embroidering the writing (see above).
  • How uneven it looks at the moment.

I think it will all turn out all right in the end though. I quite wish I'd included the minimum temperatures too - perhaps using one strand of colour for the minimum and one for the maximum. I'm wondering about making another temperature blanket next year, using the same colours but a different technique. Perhaps I shall crochet it and use the minimum colour for the centre of each day's shape.

I think, actually, the best thing about this project is that I'm working on something that I haven't designed myself. It's nice to be a follower for a change.

Saturday 9 March 2019

Colour Experiments

Every so often I get obsessed with a new idea and have to work on it at all hours and to the exclusion of everything else. It doesn't matter how many designs I'm already working on (nine or more, since you ask), I just can't leave it alone.

A few weeks ago I started doodling geometric tiled shapes and seeing what happened when I coloured them in different ways.


"That was interesting" I thought, "maybe I could use that for a crochet pattern one day. Not now obviously because I've got too many things on the go already." So I put the sketches away, feeling smug at my self control. Then this happened ...


In my defence, I did wait a whole day before starting to crochet. The plan I was trying to recreate is a combination of squares and elongated hexagons which gives the effect of squares on top of squares.


Can you see the big squares tilted on their points and the smaller, straight squares on top of them? I thought I could vary the texture on the different sections so that the top squares were quite complex and the ones underneath were simpler. 

Working out a textured pattern for the top squares was quite straightforward. This is the start - I wasn't quite sure whether to start with a neutral cream or one of the colours.


I decided I didn't like the cream in the middle and that I wanted to see more of the central colour.


As you can see, I've added a few rounds and finished the squares off with a cream crab stitch edging. I'm rather pleased with this edging as it will stand above the rest of the crochet, marking the edges of the squares. I'm planning to use it on the bigger squares too so that the eye is drawn to them.

Isn't it interesting how different those two squares look, just by swapping the colours round. I think I like the one with the green in the middle best. So far, so good but then I started questioning my colour choices. Now I really like shades of blue and green like this and I've used them quite a lot.


This is Stylecraft Special DK in, from left to right, Grass Green, Kelly Green, Green, Cream, Royal, Lapis, Aster and Cloud Blue. But ... my original idea was for something a bit more subtle and here I was, back with my bright primaries.

I had the idea of using two sets of colours - one for these top squares and another for the squares underneath. I wanted to divide up the squares underneath too so that the outer section matched the top squares. This gave me elongated hexagons that looked like this.


This was my first attempt. If you imagine four of these sewn together at the red points, you can see that you'd get a red / orange / yellow square (with cream edging) and then a bit more of the blue and green. 


Again, I'd gone for some of my favourite bright colours. From left to right, Garnet, Lipstick, Pomegranate, Tomato, Spice, Sunshine and Saffron. Not that I use this yarn a lot but I can name lots of them by sight. 

I fiddled around with the actual design, making the red section more textured and increasing the blue / green part which was better.


But I wasn't really happy with my colours. However much I like them, I couldn't really call them subtle and, when I put the two shapes together, the whole thing was definitely far too busy.


So, it was back to the drawing board - or, rather, back to the  yarn pegs. These are so useful for choosing colours. After a brief flirtation with mixing up some random colours ...

Citron, Candyfloss, Empire, Silver, Turquoise, Lemon and Fuchsia Purple

... quite pretty but not really me, I tried a more orderly range of greens and mauves. There's a colour name you don't often hear now - mauve - conjures up memories of the 1970s for me and the blue rinsed hair of my Great Aunty Eva.

Petrol, Storm Blue, Duck Egg, Cream, Parma Violet, Lavender and Violet

I quite liked this one, although I can't say it's particularly exciting. I thought the cream section might be too big in the first one so I swapped it with the palest mauve  the second time round ... but then it changed the shape of the central motif from a square to something more like a cross.

I did feel I was getting nearer to my original idea though; something Spring-like that would make you think of the new season's flowers. So, after more playing around with colour pegs, I came up with this.


Now these colours I like. They shout "Primroses" and "Sunshine" to me; I can feel enthusiastic about them. From left to right, they are Lime, Mustard, Citron, Lemon, Pistachio, Meadow and Cypress - even the names sound like spring (although possibly not mustard).

Here are two squares with the colours swapped round; I think the one with the yellows on the outside is lovely and sunny.


I couldn't decide between them so I knitted two of the long hexagons, one starting with the greens and one with the yellows. The colours seem to work best if both the top and bottom squares start with the same colours so here is the 'green first' version ...


... and here's the yellow one ...


I think I prefer this one; somehow it looks better with the slightly darker greens on the outside, more like the leaves round the flowers perhaps? I'm happy with the textures too. The top square has a range of stitches and textures, the yellow bottom square is a simple ridged pattern and the green on the outside is just double crochet, changing colours every row to give a muted, blended effect.

Finally, after many late nights and a lot of crochet, I think I know what I'm doing now with this design. The next thing to do is to weigh all the balls of yarn I'm going to be working from to keep track of how much yarn the pattern uses. I won't be able to include the two shapes I've already crocheted but I'll add on a bit for them when I work out the final amounts. 

I'm not sure how big this needs to be to look good, or what I'm going to do with the edges ('cut off' the green sticky out bits or add half hexagons?) but at least I can make progress now. I'd like to call it something to do with primroses I think - not 'Primrose Path' though which is a fun-filled path that leads to disaster. Any other suggestions?

Friday 8 March 2019

Three Villages

Earlier this week my son had a free day so we grabbed the chance for a country walk. He's a supply teacher so doesn't know if he's working on any day until the last moment. Luckily, it was a fine day (apart from one rather vicious shower which coincided with a struggle up a windswept slope) and not too muddy, given that we live in an area of heavy clay which can weigh you down pretty quickly.

We walked out of the top of Banbury towards Drayton village and then turned off to head across the fields towards this ...


Yes, it's an obelisk in the middle of a muddy field. The Wroxton Obelisk was built in the middle of the 18th Century to commemorate the Prince of Wales' visit to the area, apparently he went to the races in Banbury. They felt the obvious way to celebrate this was to put up a big bit of stone, complete with latin inscription, which we struggled to translate in the rain. The obelisk was originally part of the landscaped grounds of the Wroxton Estate, as was this Folly which dates from about the same time.


The architect was one Sanderson Miller and we came across one more of his wonderful creations when we got to Wroxton.


It looks like a mini castle on a hill but is actually a Dovecote. This is what's known as an 'eyecatcher' basically something to look pretty as you look across your extensive estate.

Wroxton House is a Jacobean country house, built on the site of an old abbey and is now a College for students from Fairleigh Dickinson University in the United States.


This is actually the back of the building; the public can explore the grounds as long as they don't picnic or bring a dog so we did. There were masses of daffodils up but not out yet on the banks, it will be a mass of yellow soon. You can walk through the trees and admire this beautiful lake; it's a very peaceful place.


The village of Wroxton is a typical small English village, complete with duck poind.


I do like it when the ducks have their own thatched cottage. It was re-thatched a couple of years ago which must have been a tricky undertaking. You could just see some eggs inside the doorway. It doesn't show up very well in the photo but the pond has a lovely new iron railing too; I'm partial to a nice bit of cast iron.

We had planned to stop for a pub lunch at Wroxton but its two pubs are both closed down so we carried on across country towards North Newington. On the way we stopped to admire some of the first of this season's lambs.

Note the lamb using a sheep as a step


I was trying to master my new compass on this walk but the path between Wroxton and North Newington was pretty straightforward ...


The ways between two villages are often very old, following the easiest and straightest route, trodden by people for many years.

North Newington's pub has the enticing name of 'The Blinkin' Owl' but, guess what, that was closed too. So, on we went, this time heading for Broughton village.

The footpath comes into the village through the grounds of Broughton Castle which is a moated manor house mostly dating from the sixteenth century. It's the home of Lord and Lady Saye and Sele whose family name is Fiennes. This name is thought by some to be the origin of the 'Fine Lady' who famously rode her horse to Banbury Cross. 


The castle is open to the public on Wednesday and Sunday afternoons in the summer and is well worth a visit. It's been used as a location for various films, including the BBC's 'Wolf Hall' and 'Shakespeare in Love' so some parts might seem rather familiar.

There is a pub in Broughton village but it was of course closed. To be fair, it was three o' clock by now and they had been open at lunchtime. So we plodded on, heading back to Banbury via the Salt Way, one of our oldest paths.


We finally found an open pub in the shape of  The Easington where we enjoyed a pint of cider and a delicious vegetarian toad-in-the-hole. They have an actual vegetarian and vegan menu with real choices which was very exciting. I do get tired of having to seek out the vegetarian options on menus which often turn out to be few and far between and dull. It was really nice to be able to choose between several interesting options.

It was a good start to my walking week - just over ten miles. Since getting a cheap pedometer at the start of last year, I've been keeping track of how far I walk in an attempt to do more. Last year I walked over 600 miles so I'm hoping to do more than that in 2019. There's been too much work and not enough getting out so far this year so more days like this are called for.