Wednesday 26 May 2021

Lazy Crochet

After dealing with the complexities of the Primrose Garden blanket, I felt the need to do some simple crochet. This is what I came up with ...


This is the v stitch pattern, normally worked in one row stripes. Isn't it pretty? Now, I don't normally mind sewing in lots of ends with crochet but it struck me that there'd be an awful lot of ends on a scarf. So, I put my mind to working out how to avoid them and came up with my lazy crochet technique. Basically, you work two rows in the same direction, one in each colour, before turning the work and crocheting the next two rows. I used a plain colour for my main yarn and a variegated for the contrast but, even if you changed the contrast colour every row, you'd still have cut down the number of ends by half.

First of all I knitted this scarf, using navy DK weight yarn and some Lion Brand Mandala in a shade called Gnome. This is made up of eye-wateringly bright colours which I wasn't that keen on but pairing them with the dark blue has toned them down nicely.


The finished scarf is edged with a simple border in the main colour which evens up the sides. You can download the pattern from ravelry as normal. Lazy Vee Scarf.

It didn't take long to crochet this scarf so I then thought I'd try a completely different colourway, using the same technique to make a blanket.


I used a bigger hook for this project so the fabric has a softer drape. The two yarns I used were both from Stylecraft: Cream Batik for the main colour and Rainbow Batik Swirl for the contrast. I think these colours give the blanket a soft, vintage feel.


The blanket has a slightly more elaborate border than the scarf which you may or may not be able to see in this picture.


The blanket is called Lazy Vee Blanket and can be found next to the scarf pattern in my Ravelry Shop - two patterns for the price of one (if you can say that when both patterns are free.

I keep hard copies of all my patterns and these two finish off the 15th file. That's not counting all the big pattern series which have their own files.


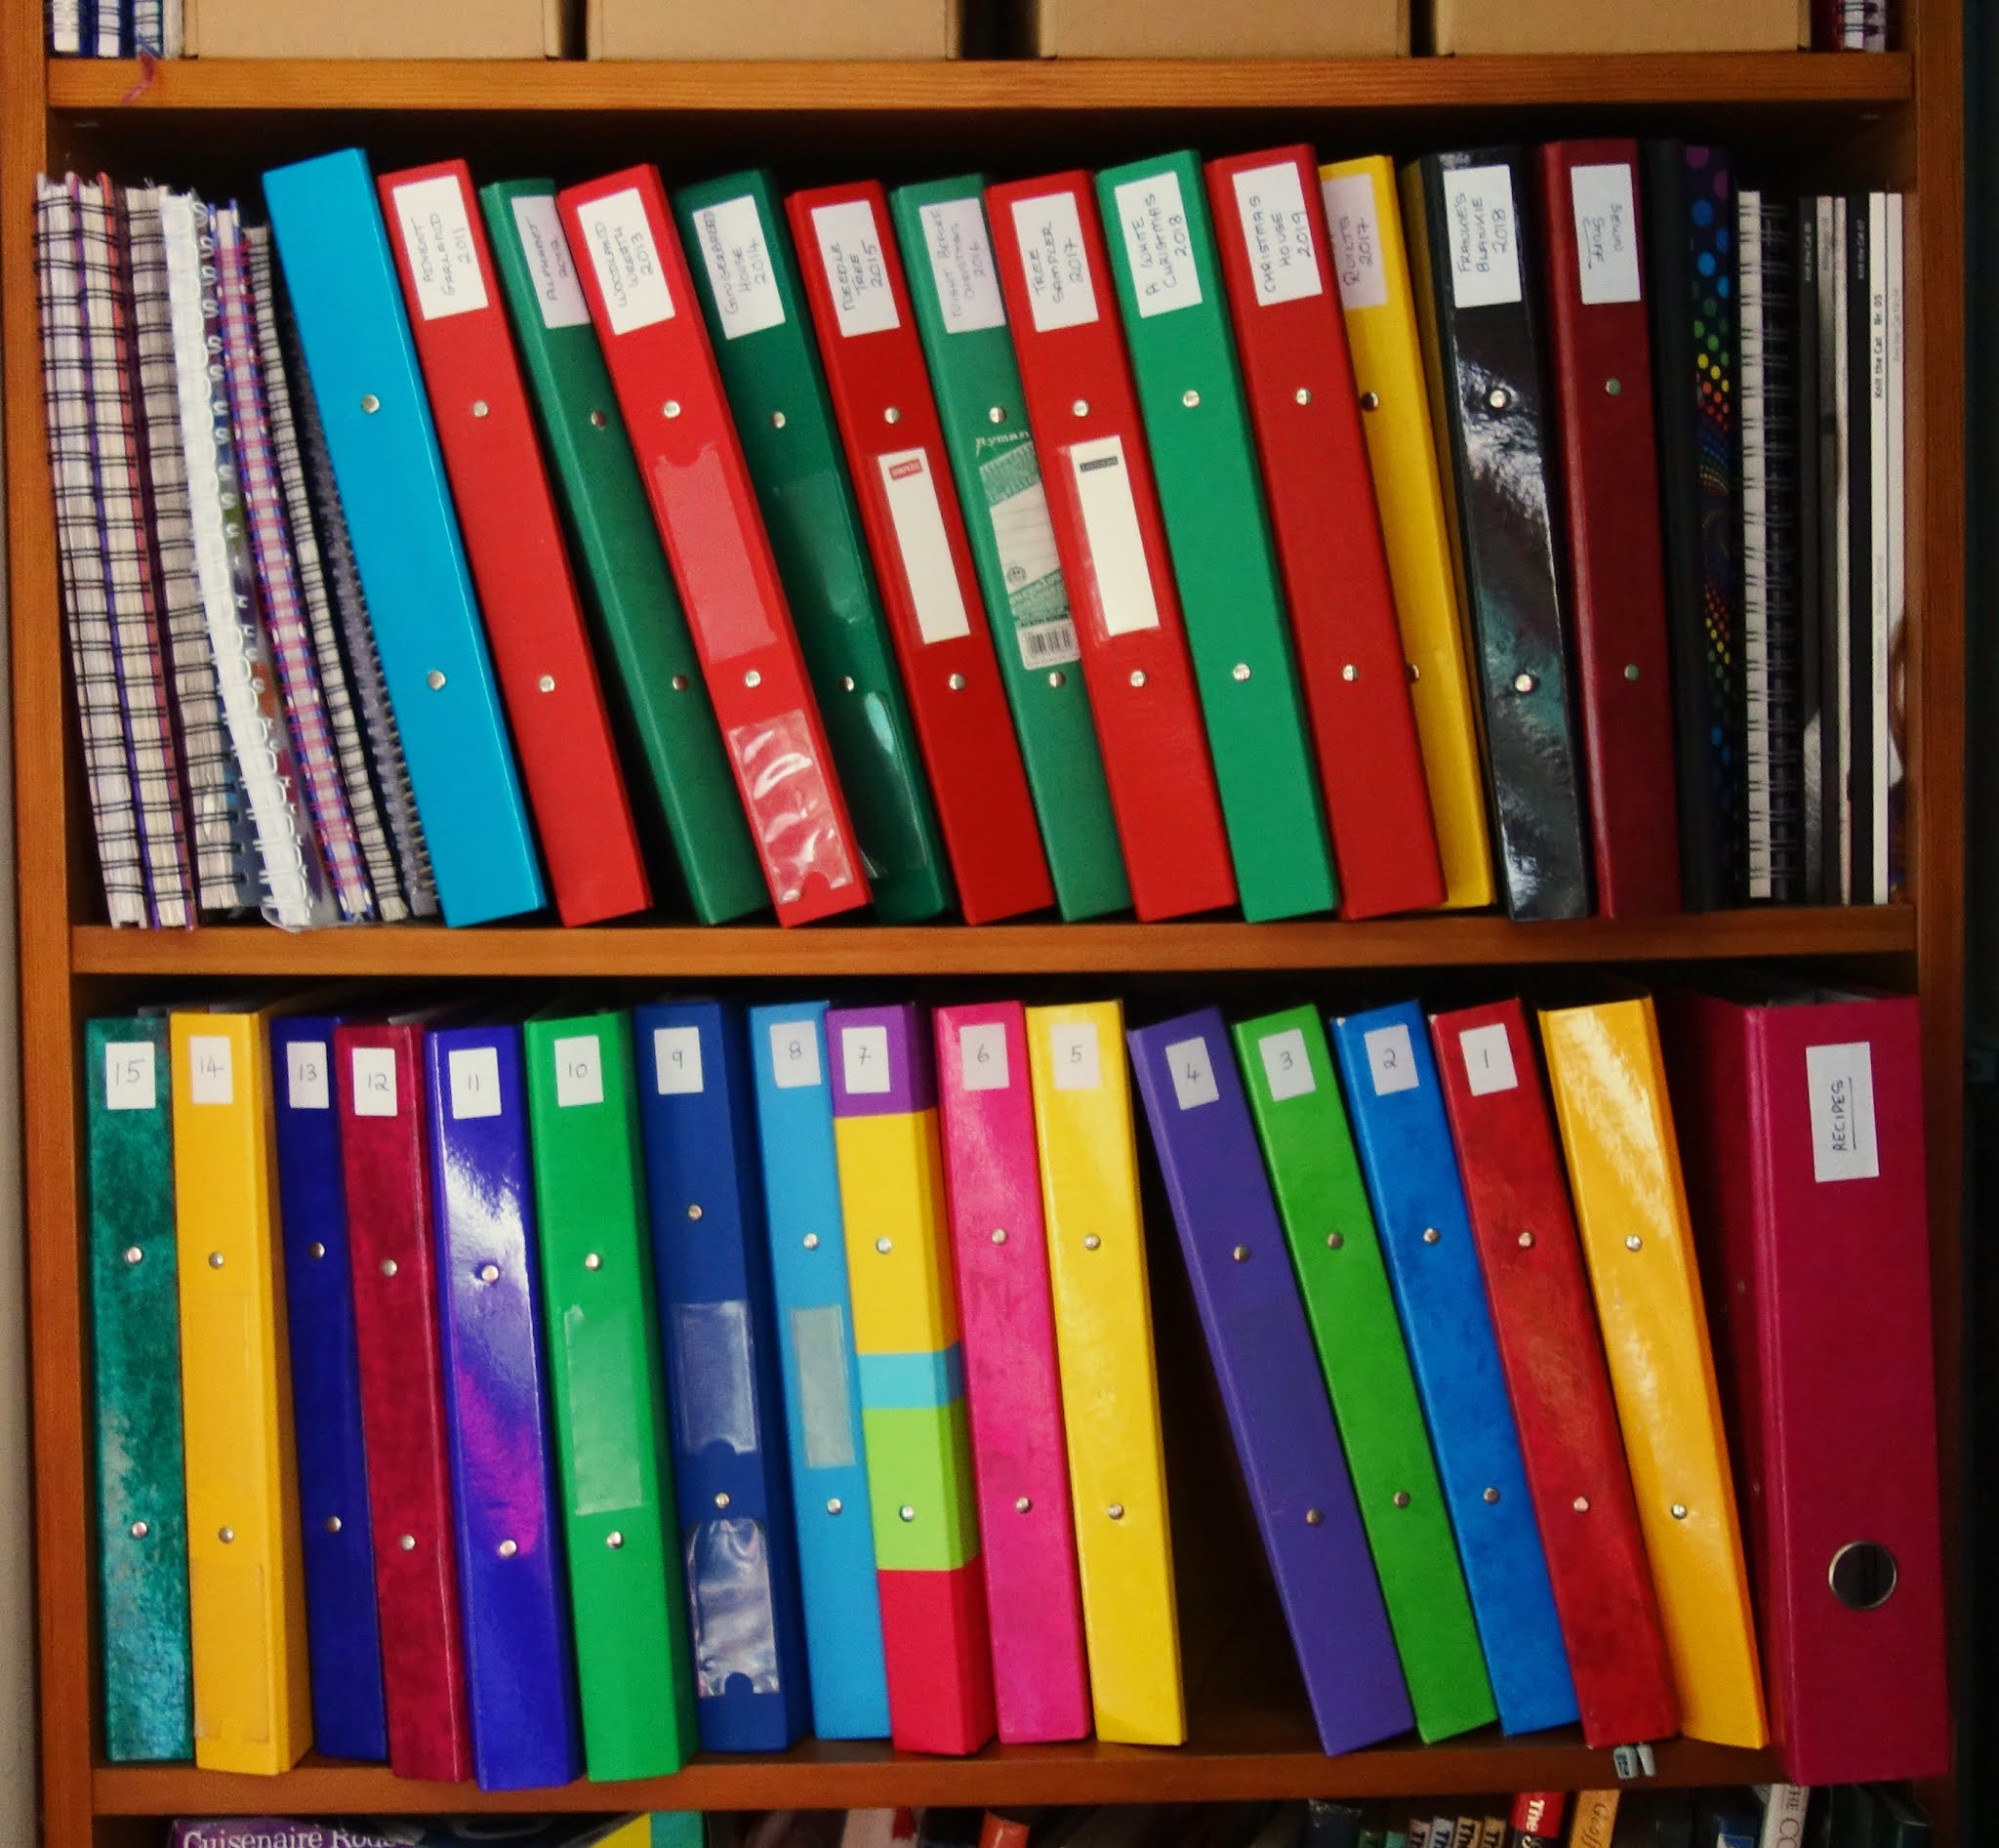
The fifteen pattern files are on the lower shelf; above them are all the big series and, at one end, my collection of pattern notebooks. My daughter is hoping to be able to visit me for a few days next month and I'm going to pick her Archivist brain about how to organise those notebooks. They are full of incomprehensible scribblings and random pieces of loose paper which only mean something to me (and not even that sometimes) so I'd like to sort them out a bit.

According to ravelry, I have published 549 patterns in the last thirteen years or so. Blimey - how did that happen?

Friday 21 May 2021

Santa's House

I've got another little house to show you this week and this one is even smaller than the last.


I've just finished this little beaded house which is the first in a series of Christmas patterns from ThreadABead who sell patterns for the most wonderful range of 3D beaded creations. Have a look on their site - I can guarantee you'll be impressed. 

My little house is Santa's House and is just one of many patterns for a complete Christmas Village. There are all sorts of different houses and shops, a train (complete with station), Christmas trees, old-fashioned street lights, everything you could want.

The patterns are full of lovely details; I'll give you a tour of mine to show you what I mean. There's a tiny wreath on the front door for starters.

I like the candy cane stripes on the house corners too.

Standing at one side of the house is Santa himself ...


... while Mrs Claus is picking poinsettias in the garden.


And of course there's a decorated Christmas tree on the other end wall.


The finished house is tiny, as you can see from this picture of it next to my trusted thimble. This means that you could fit a whole village on a mantelpiece or shelf easily.


I had a moment of panic just as I'd nearly finished the house when I realised it needed something to weight it down a bit. Now normally I would use a few coins from my purse but I haven't had any cash for over a year (no need for it when I can't get to any shops). Luckily I found a little pile of pennies and twopences in a ramekin in the kitchen cabinet - two pennies just fitted in the bottom of the house.

I bought the pattern as a digital download and then ordered the beads that I needed. The patterns are long and detailed with every step illustrated by photos.


The chart for the walls looks complicated but, actually, that's the part I enjoyed beading most. I've done beading before but I think a beginner could manage one of these little houses without too much difficulty. Just don't take any notice of how long they say each project will take; they suggested two hours for this one and I was barely halfway across the roof by then.

Now one house doesn't make a village so I shall obviously have to make some more. I've already bought and printed off the next pattern.


This one has two floors and is a workshop for the elves. It should keep me busy for a while. After this, I shall move on to the Reindeer Barn I think.

Which reminds me ... I put quite a lot of links in my blog posts and wondered if you like them or not. Do you tend to follow them or have you not even noticed that there are links? Personally, I like being able to follow up on things that I'm reading in more detail. What about you?

Now I'm going to put my little beaded house on the mantelpiece in solitary splendour - who cares that it's only May?

Friday 7 May 2021

House Building

For the last year or so I've been slowly working on a project that started life as an awful lot of tiny pieces in some small plastic bags ...


Here's what all those tiny pieces turned into ...


This little house kit from Petite Properties is in 1:48 scale which means that it's pretty small. To give you some idea of scale, here it is with something lots of you will be familiar with - a 100g ball of yarn.


For the non-knitters out there, the house is about 15 cm wide and tall and about 10 cm deep (6 x 4 inches). It's a proper little dolls house in miniature. Would you like a tour? Of course you would. At one side there's a small scullery ...


... and this is the back of the cottage ...


I particularly like the bay window and the little porch over the front door.


To get to the rooms, the front wall and part of the roof comes off.


I chose this particular house because I liked the stairs in the cupboard; I once lived in a house like that. 


There are tiny fireplaces in three of the rooms which I built fires in. I couldn't get a photo of them inside the rooms so here's one taken after I'd made it.


At the back of one of the downstairs room, there's an open door showing just a glimpse of the scullery.


The roof lifts off the scullery too so that you can see inside.


This turned out to be the perfect long term project for me at the moment. Long Covid means that I struggle with anything that I have to concentrate on for too long but I could do a little bit of painting and leave it to dry, glue some pieces together ... As this was the first time I'd tried building a miniature house, I needed to take it very slowly anyway so that I could check and re-check what I had to do next.

I made lots of mistakes and learnt an awful lot in the process. I'd paint a bit, then mess it up with the next bit - I was constantly touching up the paintwork. I nearly put the windows in back to front and had no end of trouble with the brickwork.

I nearly didn't even try that brickwork but in the end I found a bit of wood to practice on and had a go. You plaster the outside walls with cheap filler (the expensive stuff dries too quickly and too hard) and then carve the lines of the bricks on it. I used a loom knitting tool for this.


The carving was a very messy business - dust everywhere - and lots of the bricks crumbled as I worked. I decided that this would just look like wear and tear and left them like that. Once the bricks are all marked out, you paint the whole thing with the mortar colour and then sponge paint various brick shades on top.


Isn't that clever? I saw Bea Broadwood from Petite Properties demonstrating this technique at the Miniature show I went to a few years ago and I'm so glad I finally managed to do it. Here are all the parts of my house covered in bricks.


The chimneys were really tricky to do as they're so small. I realised afterwards that I could have stuck them on to something to give me something to hold. This is the sort of thing I put in my notebook which is full of things to remember another time - mostly because I did them wrong this time. Those windows shouldn't have been put in until after I'd done the brickwork for example. 

When I came to gluing the parts of the house together, I came up against another problem, how to hold the pieces at the right angles while the glue set. This is where Lego bricks turned out to be useful. I could rearrange them into props and supports for every task.


See the days and the month on the bricks? That's because I dismantled my Lego calendar for this - April had to be cancelled this year.

I was rather proud of my floorboards. I worked out a way of dry brushing, using various colours to paint my own. The cracks between boards and nail marks are pencilled lines.


That floorboard recipe has gone down in my notebook too, complete with a sample on card so that I can do it again another time.


The brickwork may have been time consuming but I found Bea's technique for the roof was simplicity itself. It consists of corrugated cardboard, covered with fine sand and then sponge painted. The ridges at the top are cocktail sticks.


My corrugated card was bright yellow and I discovered that, with a thin coat of brown paint, it looked like an old rusty tin roof. I've made a note of that in case I ever want to make such a thing - a Shepherd's Hut perhaps?

Now all I have to do is furnish my house. I'm going to buy the furniture as kits to make and paint myself and then I'd like to make someone to live in there ... Once I've done all that, I shall have to decide which house to build next. I'm torn between a house with a garden like Gardener's Cottage or The Little Duck House or something like Privet House which, with its mid twentieth century styling, would make a good 1940s house. 

Monday 3 May 2021

Another Day, Another Blanket

After the relief of finally getting my Primrose Garden pattern published, I've got another blanket pattern ready for you today - this time a knitted one.


This is Bestway Blanket, a  small baby blanket made up of single rib squares which are knitted in the round. I don't think I've ever worked rib stitches in the round before. I got the idea from this old knitting pattern in my collection.


The bootees that particularly appealed to me were those yellow ones with the cuff. I tried knitting a pair and was very taken with the way that the rib pattern was shaped around the foot.


Double decreases give a nice sharp line and the direction of the rib stitches adds to the geometric look. So, I got out my double pointed needles and, after several slightly odd squares, came up with this.


The double decreases are worked halfway along each of the four needles, giving a nice raised chain along what becomes the diagonals of the finished square. I think the wrong side is pleasing too. I like the way that the rib stitches all 'point' towards the middle; you can also see in the first of the photos above how the lines of the rib catch the light slightly differently, depending on whether they run horizontally or vertically - another nice touch.

In a 'let's use some of the stuff I've already got' mood, I turned out as many chalky pastel shades as I could find from my Stylecraft Special DK baskets and found that I had 15 different colours. I knitted two in each and sewed them together to make a small baby blanket.

Each square takes about 10g of yarn so you need roughly 300g all together, plus another 50g or so for the attached I cord border. I'm pleased with how this one has turned out, especially as I don't often use paler shades like these. I think my 'new' First Love doll (yet to be named) likes it too.


I just love making blankets. Having taken weeks to write up my latest crochet blanket because it was quite complex (20 pages!), I felt the need for some simple, soothing crochet. 


That's right, another blanket. I'm whizzing along with this one, having worked out a way of not having to keep cutting the yarn. Why didn't I think of that before? I'm using more Stylecraft yarn for this one, this time Batik in cream and the Rainbow colourway of  Batik Swirl.